Maven

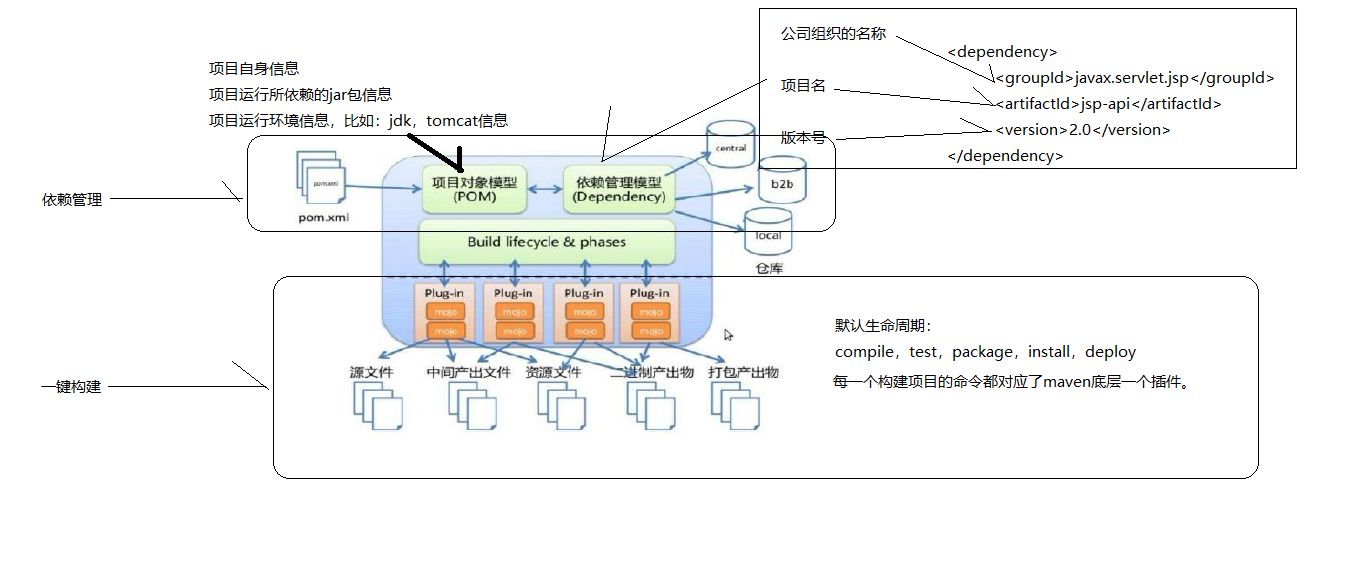
依赖管理
- Maven工程对jar包的管理
- 传统项目jar包放在项目中,Maven项目的jar包放在jar包仓库中,只需要在Maven项目中放置jar包的坐标,编译和运行中,Maven工程会通过坐标找到jar包的位置
安装Maven
- Maven下载
- 配置环境变量:
- 在系统变量中配置MAVEN_HOME:输入放置Maven的目录
- 在Path中配置:**%MAVEN_HOME%\bin**
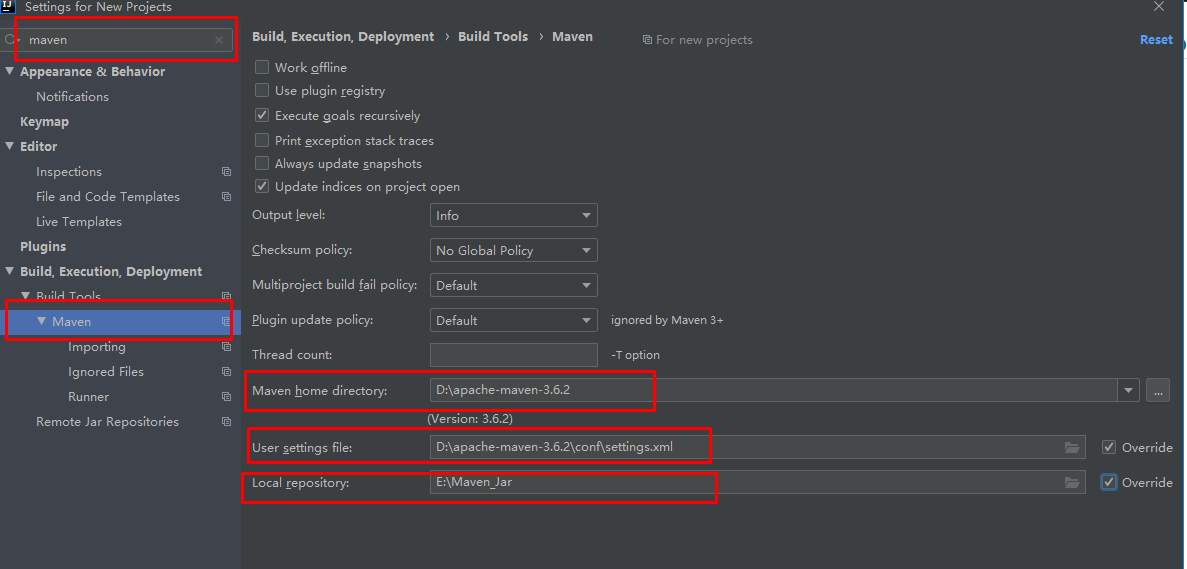
配置settings.xml
配置本地仓库位置
- 在maven包下的conf\settings.xml中找到Default: ${user.home}/.m2/repository
- 在下面加一行:<localRepository>本地仓库jar包位置</localRepository>
配置阿里云中央仓库
- 在<mirrors>标签内配置
1
2
3
4
5
6
7
8
9
10
11
12
13
14
15
16
17
18
19
20<mirror>
<id>alimaven</id>
<mirrorOf>central</mirrorOf>
<name>aliyun maven</name>
<url>http://maven.aliyun.com/nexus/content/repositories/central/</url>
</mirror>
<mirror>
<id>repo1</id>
<mirrorOf>central</mirrorOf>
<name>Human Readable Name for this Mirror.</name>
<url>http://repo1.maven.org/maven2/</url>
</mirror>
<mirror>
<id>repo2</id>
<mirrorOf>central</mirrorOf>
<name>Human Readable Name for this Mirror.</name>
<url>http://repo2.maven.org/maven2/</url>
</mirror>配置编译时的jdk版本
- 在<profiles>中配置
1
2
3
4
5
6
7
8
9
10
11
12<profile>
<id>jdk1.8</id>
<activation>
<activeByDefault>true</activeByDefault>
<jdk>1.8</jdk>
</activation>
<properties>
<maven.compiler.source>1.8</maven.compiler.source>
<maven.compiler.target>1.8</maven.compiler.target>
<maven.compiler.compilerVersion>1.8</maven.compiler.compilerVersion>
</properties>
</profile>
目录结构
- src/main/java:核心代码部分
- src/main/resources:配置文件部分
- src/test/java:测试代码部分
- src/test/resources:测试配置文件部分
- src/main/webapp:页面资源部分,js,css,图片
常用命令
- mvn clean:删除编译过的信息,target目录
- mvn compile:编译src/main/java下的代码
- mvn test:编译src/main/java和src/test/java下的代码
- mvn package:编译src/main/java和src/test/java下的代码,并且将项目打包
- mvn install:编译src/main/java和src/test/java下的代码,并且将项目打包,并且将包放到本地仓库
生命周期
- 清理生命周期:清理项目编译信息clean
- 默认生命周期:编译compile->测试test->打包package->安装install->发布deploy
- 站点生命周期
概念模型
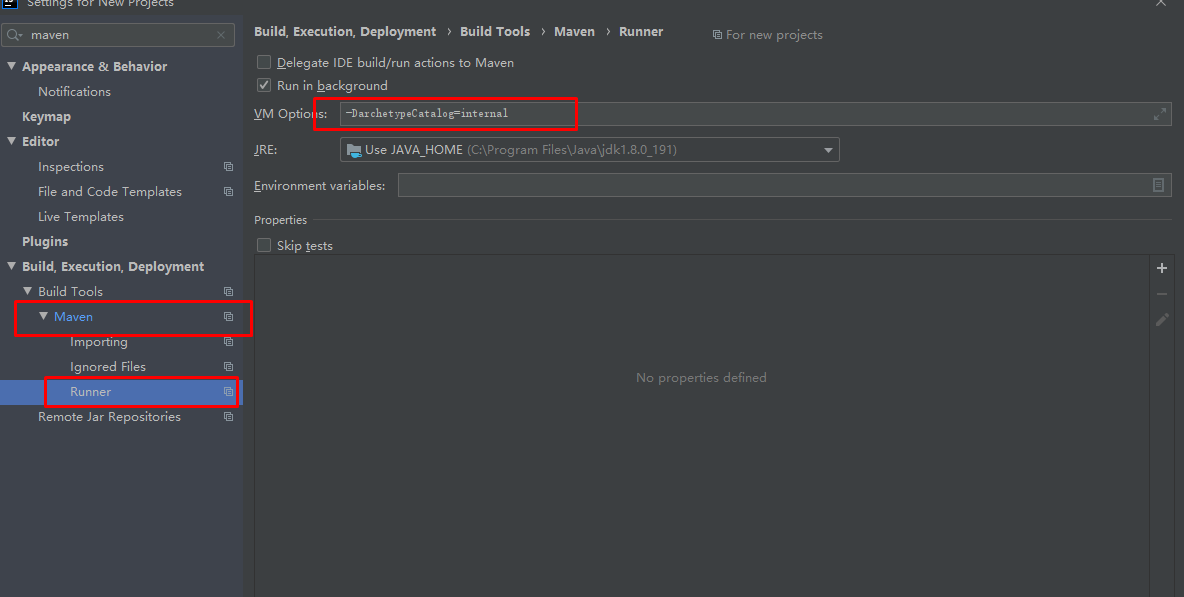
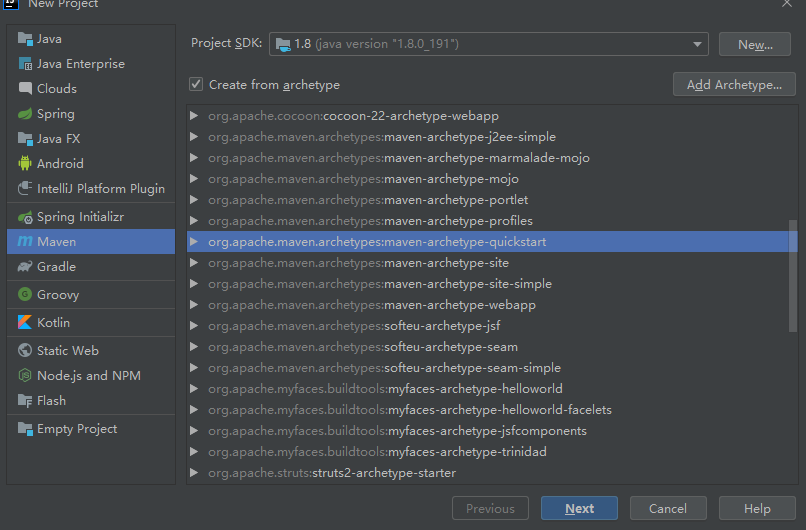
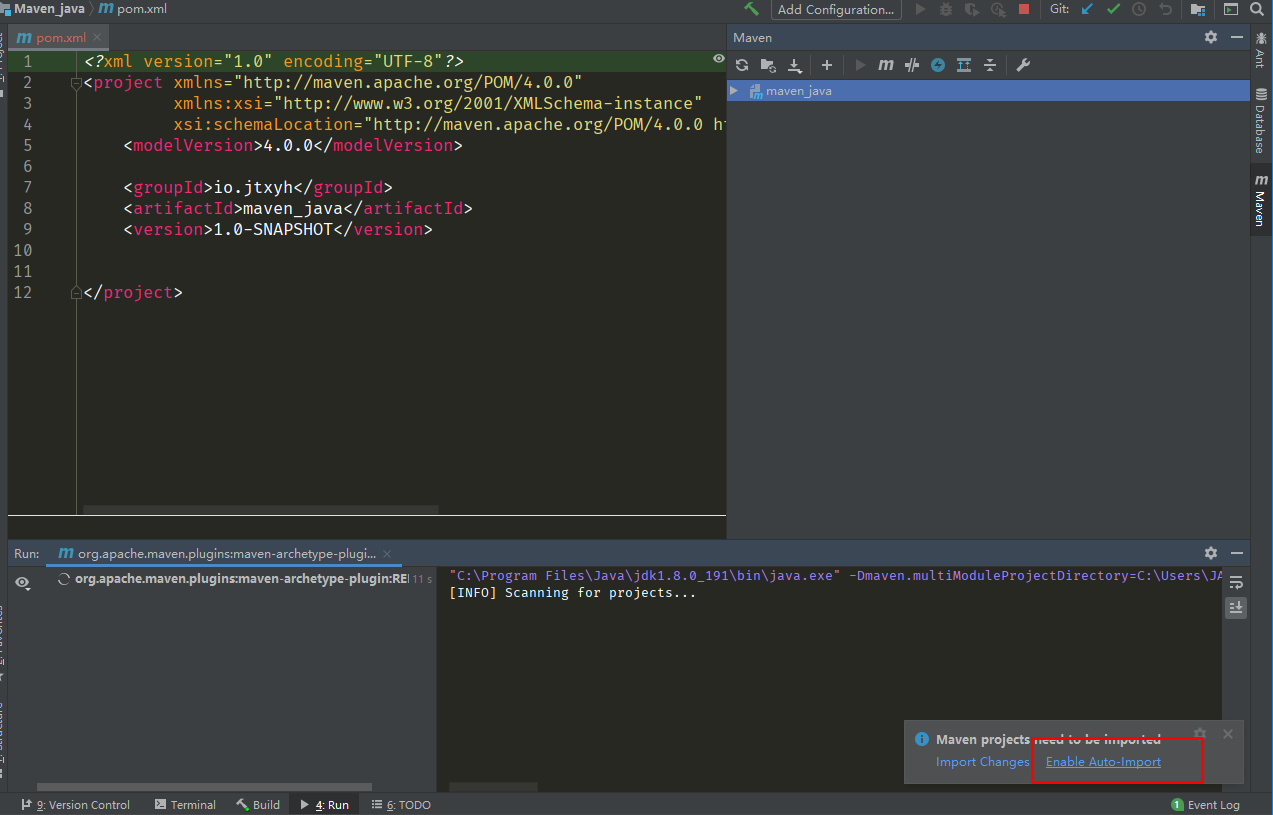
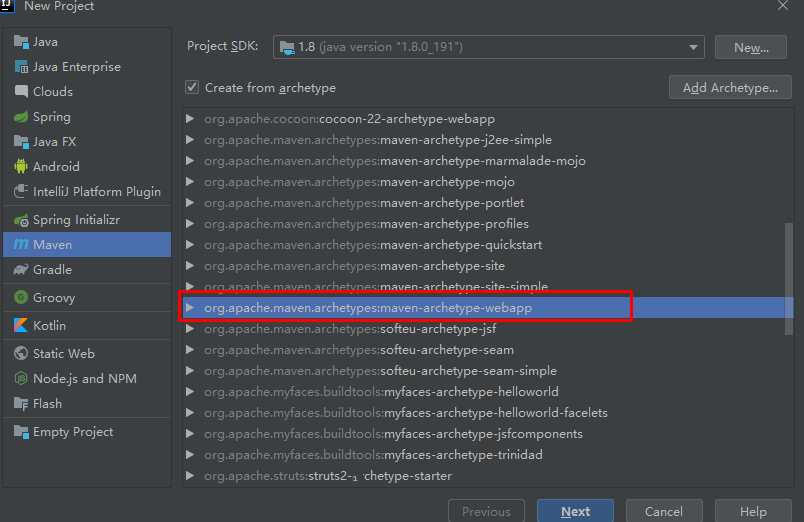
IDEA中Maven操作

一些插件
1 | |
相关文章
Request,Response和ServletContext